-
6/6/24
Cardio Zones Explained: What They Do for Your Heart and Body
Not all cardio is created equal. Whether you're walking, jogging, cycling, or doing intervals, the intensity you're working at changes what your body gets out of it (remember SAID principle). Understanding heart rate zones helps you train with more purpose.
Here’s a breakdown of the 5 main cardio zones and what they actually do for your health, performance, and longevity.
Zone 1 – Recovery & Circulation (50–60% Max HR)
Think: Easy walking, mobility circuits, active recovery days
Helps with blood flow, joint health, and recovery
Good for reducing stress and getting movement without fatigue
Supports heart health by improving your ability to relax and recover
Best used for: Rest days, low-stress movement, pre/post workout recovery
Zone 2 – Fat Burning & Endurance (60–70% Max HR)
Think: Brisk walking, light jogging, long steady rides
Trains your body to burn fat more efficiently
Builds your aerobic base, essential for heart health and stamina
Improves how much blood your heart pumps per beat (stroke volume)
Best used for: Longevity, fat loss, building sustainable cardio fitness
*This is where most people should be spending time if their goal is long-term health and body composition.
Zone 3 – Aerobic Threshold (70–80% Max HR)
Think: Tempo runs, moderate but steady effort
Mixes fat and carbs for fuel
Trains your body to handle more intensity without gassing out
Improves your ability to clear and tolerate lactic acid
Best used for: Improving performance/stamina, preparing for sport or longer races
*This zone can be too hard for easy days.
Zone 4 – High Intensity / VO₂ Max Training (80–90% Max HR)
Think: Hard intervals, hill sprints, intense spin sessions
Boosts performance and increases your oxygen capacity
Teaches your body to work harder & longer
Pushes your heart and lungs close to their max output
Best used for: Athletic training, HIIT, or breaking through plateaus
Zone 5 – Max Effort (90–100% Max HR)
Think: All-out sprints, explosive efforts, competitive events
Builds speed and peak power
Sharpens coordination and explosiveness
Demands full recovery - this is not everyday training
Best used for: Advanced athletes, short bursts, performance peaks
*This zone is not for beginners or casual training. It’s stressful, and likely needs its own recovery timeline.
So… Which Zone Should You Be Training In?
Like everything else in training, it depends on your goal.
For most who want overall body recomposition and longevity - Stick to Zone 2 most of the time
Want to improve your performance or training for specific sport? Add in Zone 3–4
Use Zone 5 sparingly and strategically to push yourself to the limits.Knowing when to go easy, when to push, and why it matters will take your training to another level.
-
5/24/24
Daily "Movement Hygiene" Routine
Modern life keeps us glued to screens and car seats, leaving our joints stiff and cranky. This below daily movement hygiene routine is a great way to reverse that desk-bound slump, boost posture, and prime your body for pain-free workouts.
How to use it:
Set a timer for 8 to 15 minutes based on your availability.
Spend ~60–90 seconds on each drill, flowing from top to bottom.
Breathe intentionally, keep tension low, and move through a pain-free range.
Repeat daily (or as a warm-up) to lock in long-term joint health.
If all of this feels like a lot, start with the one or two drills that address your biggest needs. Practice those first, then add in the others at your own pace.
Neck Mobility
https://www.youtube.com/watch?v=GGLvI0pF8p0
Scapular Control
https://www.youtube.com/watch?v=GqGnaGuKxq8
Thoracic Spine (Upperback) Rotation
https://www.youtube.com/watch?v=AzCghjjWt5k
Shoulder Mobility
https://www.youtube.com/watch?v=898QrvpmRWc
Semental Cat Cow (General Spine Mobility)
https://youtu.be/dpHPsJxp1ZQ?si=S2nhOw-t1UYarmQB
https://www.youtube.com/watch?v=81qAnWFCh3Y
Ankle Mobility
https://www.youtube.com/watch?v=6iht_ecV1Go
Additional Tips for Consistency
Pair it with a habit - schedule it before or after your morning coffee or make it your post-work commute unwind.
Save this list on your phone so it’s one tap away.
Track your streak: 30 days of movement hygiene will get you noticeable gains in mobility and energy.
-
3/22/24
The SAID Principle: What It Is and Why It Matters for Your Fitness Goals
Ever wonder why your body changes when you train consistently, and why it doesn't when you don’t? That’s the SAID principle at work. It stands for:
Specific Adaptation to Imposed Demands.
In simple terms: Your body adapts to what you repeatedly ask it to do.
Do squats regularly? You’ll build stronger legs. Spend more time on a bike? Your cardio system will get better at endurance. Sit around all day? Your body gets better atjust that - sitting.
This principle is the backbone of smart training, and it should guide how you set your goals and structure your workouts.
Why the SAID Principle Is Important
Your body isn’t guessing. It’s always reacting.
This means:
You get what you train for - nothing more, nothing less.
Random workouts = random results.
If you want to get stronger, your training has to challenge your muscles with heavier loads over time.
If you want better mobility, you’ve got to regularly move into and train through your end ranges.
This is why doing a bunch of bootcamp-style or random youtube workouts can be a dead end street.
How to Set Training Goals Using the SAID Principle
1. Get clear on the outcome you want.
Do you want to be stronger? Move better? Drop body fat? Run a 10K? Be specific.2. Match your training to that outcome.
Strength requires progressive resistance. Mobility demands full range of motion and control. Fat loss needs a mix of strength and cardio, supported by nutrition.3. Stay consistent long enough to adapt.
The body needs time. Don’t program-hop every week. Results come from repeating the right things over time.4. Adjust as you go.
Your body will adapt, but eventually it’ll need a new challenge. Use progressive overload and keep improving.The SAID Principle reminds us that training is just applied stress and adaptation. If your workouts don’t align with your goals, your results won’t either.
So the next time you’re tempted to chase trends or mix things up for no reason, remember this:
Train with purpose. Move with intention. Progress with a plan.
-
-
6/8/23
How to Get Your First Pull-Up (Even If You Can’t Do One Yet)
Pull-ups are one of the most rewarding bodyweight exercises you can do. They build serious upper body strength, improve posture, support shoulder health, and make everyday movements like lifting, climbing, and carrying feel easier. But for many people, especially adults returning to fitness or just starting out, getting that first rep can feel impossible.
Here’s the good news: you don’t need to be able to do a full pull-up to start training for one. In fact, there are plenty of smart progressions you can do right now to move closer to your first rep - without frustration or injury.
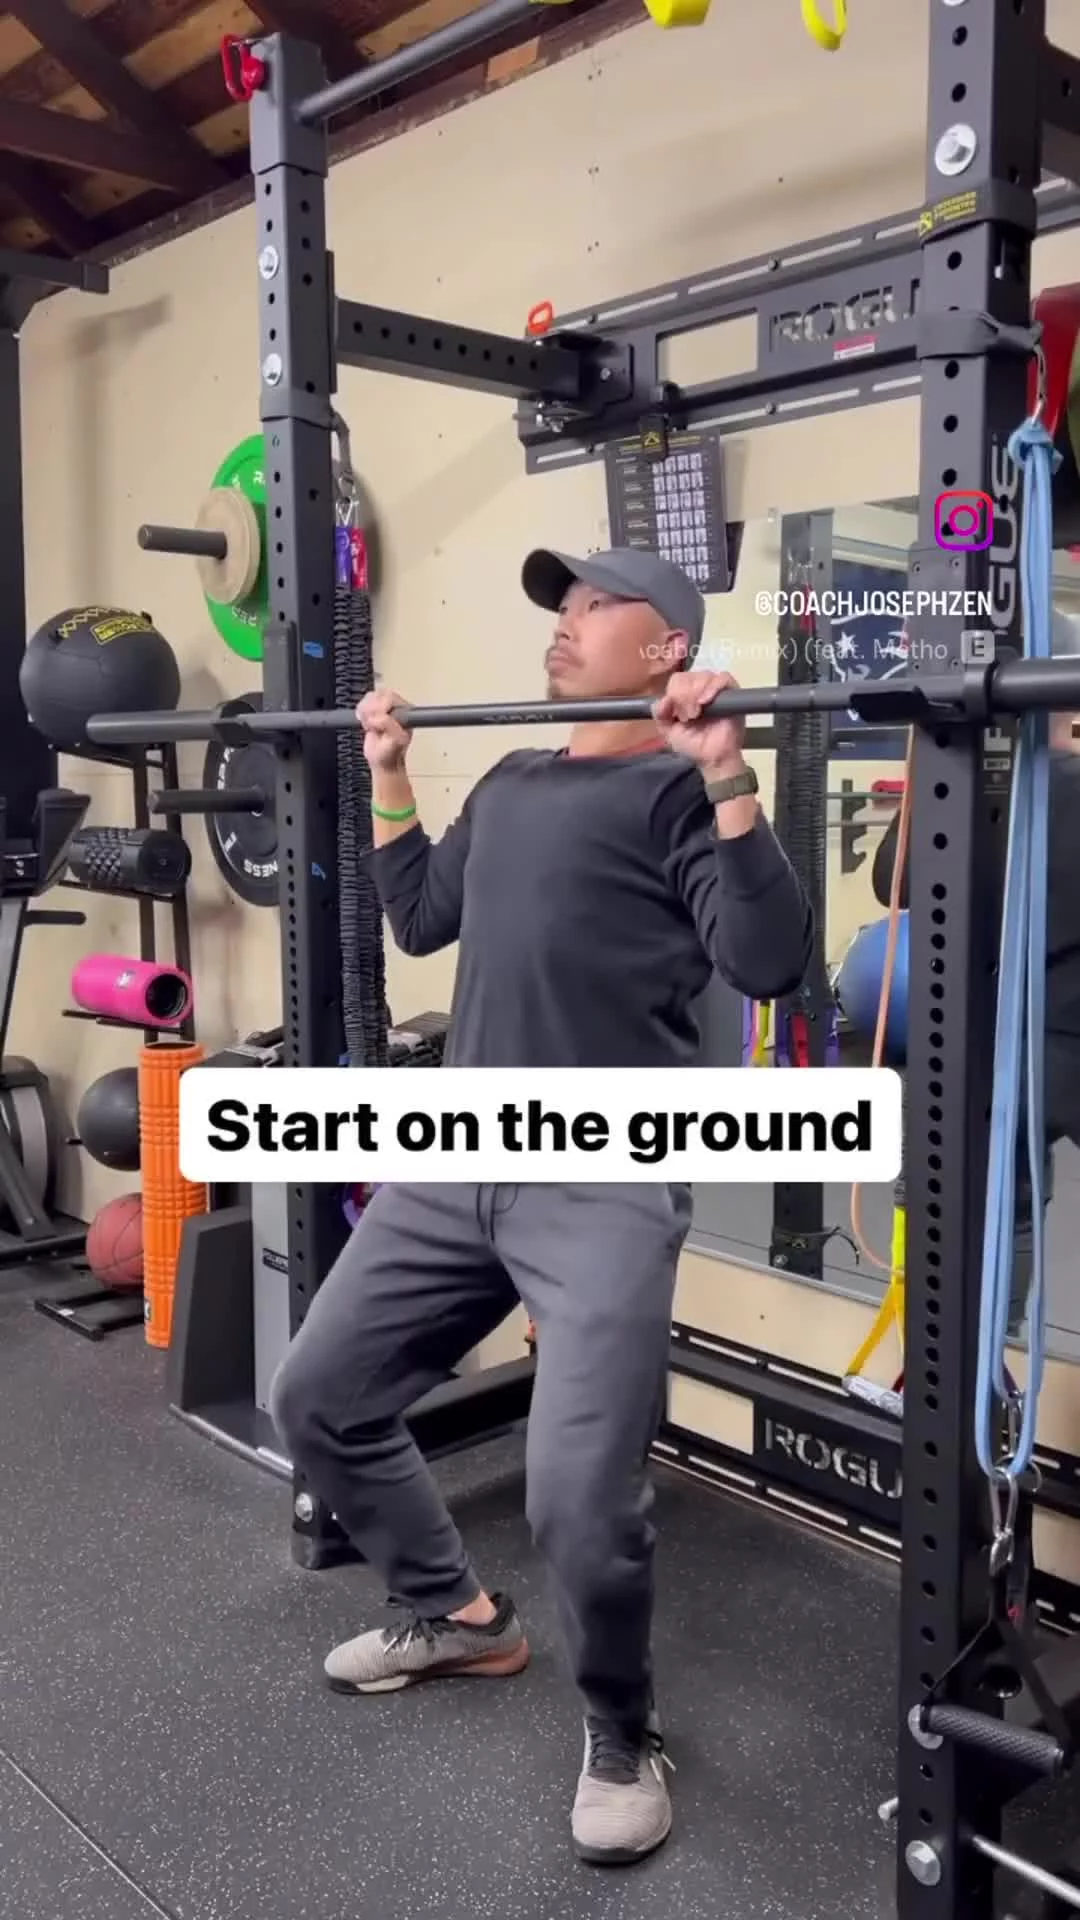
Start With the Basics: Horizontal Pulls
If you’re starting from scratch, the easiest and safest place to begin is with horizontal pulling movements, like bodyweight rows or TRX rows. These allow you to pull yourself toward a fixed object while keeping your feet on the ground. They teach you how to engage your back, shoulders, and core with more stability and less load than a vertical pull-up.
As you get stronger, you can make these harder by elevating your feet, which shifts more of your bodyweight onto your upper body and core.
Build Grip & Shoulder Control From Hanging
Can’t do a pull-up yet? No problem. Just hanging from the bar is a great place to start. It builds grip strength and helps your body get used to supporting your weight from an overhead position.
From there, add scapular pull-ups - a small but powerful movement where you shrug your shoulder blades down and back while hanging. This improves scapular awareness and strengthens the stabilizer muscles you need for full pull-ups.
Use Bands
Resistance bands can reduce the amount of bodyweight you’re lifting without taking away the need for core control and proper form. They’re great for practicing the full range of motion and building confidence—just make sure to use them safely and progressively. Over time, move to lighter bands or decrease assistance.
Lower Yourself with Control: Eccentric Training
Even if you can’t pull yourself up yet, chances are you can lower yourself down. That’s because your muscles are stronger during the eccentric (lowering) phase of a movement.
Use a step or jump to get your chin over the bar, then lower yourself slowly and with control. This builds strength directly in the muscles you need for a full pull-up and teaches proper movement patterns.
If Pull-Ups Bother Your Shoulders…
Some people feel discomfort or irritation in the shoulders during overhead movements. If that’s you, it doesn’t mean you’re broken—it just means your body might not be ready for that position yet.
Instead of pushing through pain, build strength with other pulling variations:
Horizontal rows (with bands, TRX, rings, or a bar)
Lat pulldowns (if you have access to a gym)
Dumbbell or kettlebell rows
Supported incline pull-ups (with feet on the floor)
These options allow you to get stronger and more confident without flaring up your shoulders.
Practice Often — Frequency is Key
You don’t have to max out every time you train. In fact, frequent, low-to-moderate effort practice is often the most effective approach. Try including a few minutes of pulling work 2–4 times per week using the methods above. Over time, your body adapts, and your first full pull-up becomes just the beginning.
-
5/17/23
Watch This Before You Stretch Your Hip Flexors
If you sit for long periods - whether for work, commuting, or leisure - chances are your hip flexors are tight. But before you jump into stretching them, it’s important to understand why they get tight in the first place and how that can contribute to other issues like low back discomfort.
What Sitting Does to Your Body (and Why It Matters)
When we sit for prolonged periods, our hips are locked in a flexed position. Over time, this shortened position trains the hip flexor muscles - especially a deep one called the psoas major - to become tight and overactive.
The psoas originates from the lumbar spine (lower back) and inserts into the top of your femur (thigh bone). This means tight hip flexors can directly pull on the lower spine, potentially contributing to lower back tension, anterior pelvic tilt, or even chronic discomfort in the lumbar region.
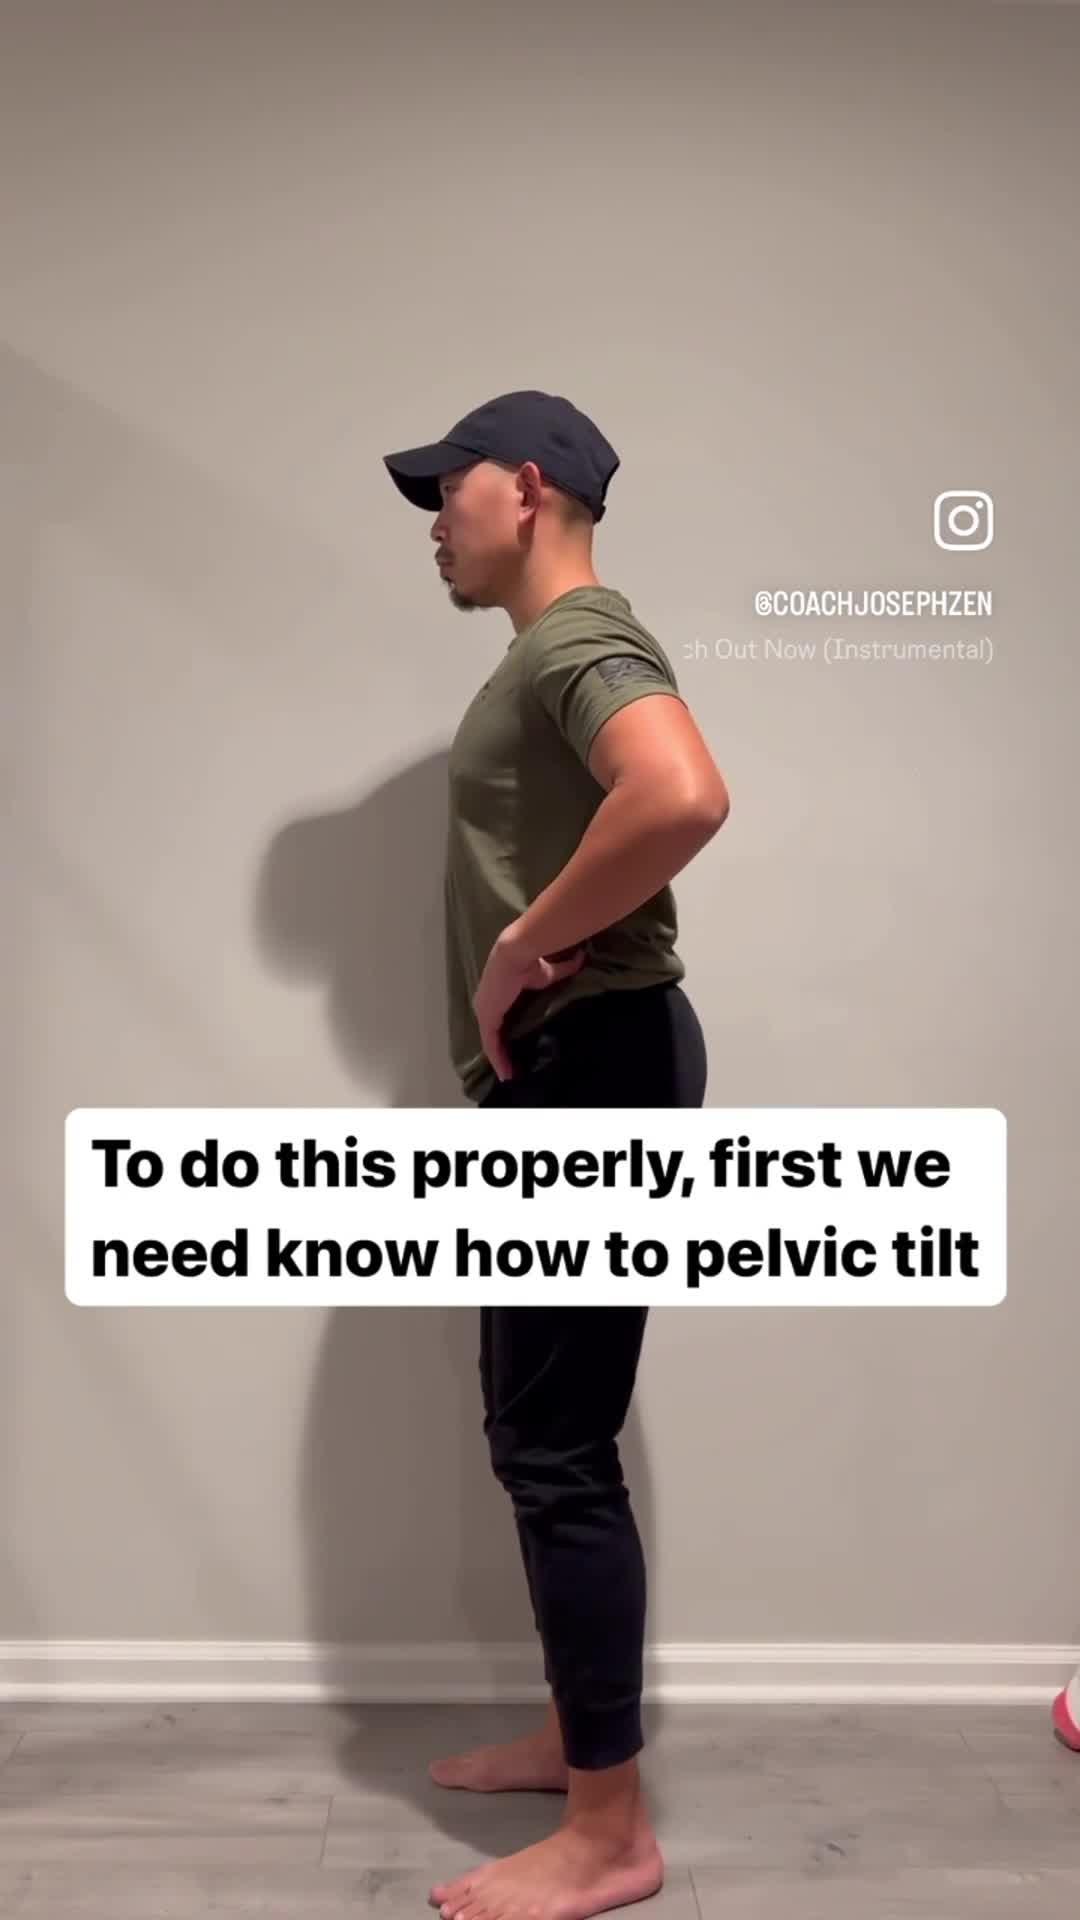
Why Hip Flexor Stretching Isn’t Always Enough
Many people try to fix this by doing a basic hip flexor stretch, but without proper awareness of pelvic positioning, the stretch may not be effective and could even reinforce poor posture. Learning how to posteriorly tilt your pelvis (think gently tucking your tailbone under) during the stretch helps lengthen the hip flexors and makes the movement more effective.
The Fix: Stretch Smarter, Not Deeper
Instead of cranking into a deep lunge, take a few moments to:
Understand where your pelvis is in space
Activate your glutes to support the stretch
Move intentionally to lengthen the muscles without putting extra strain on your lower back
You’ll get a much deeper and more effective stretch, and potentially reduce one of the sneakiest contributors to back pain.
Sitting isn’t inherently bad, but staying in one position for too long could be problematic. Learn how to move the pelvis with intention, and you’ll do your spine a huge favor.
-
12/28/22
Why You Should Be Doing Single-Leg RDLs
Unlock the Power of Unilateral Training
If you’re looking to build real-world strength, improve balance, and boost athletic performance, unilateral training should be a non-negotiable part of your workouts. One of the most effective movements you can add today is the single-leg Romanian deadlift (RDL).
Why Unilateral Training Matters
Most of life - and sport - happens one leg or one side at a time. Walking, running, climbing stairs, picking things up - your body is constantly shifting weight from side to side. That’s where unilateral exercises shine. They help:
Fix strength imbalances
Improve coordination and stability
Reduce injury risk
Build functional strength that actually carries over into daily life
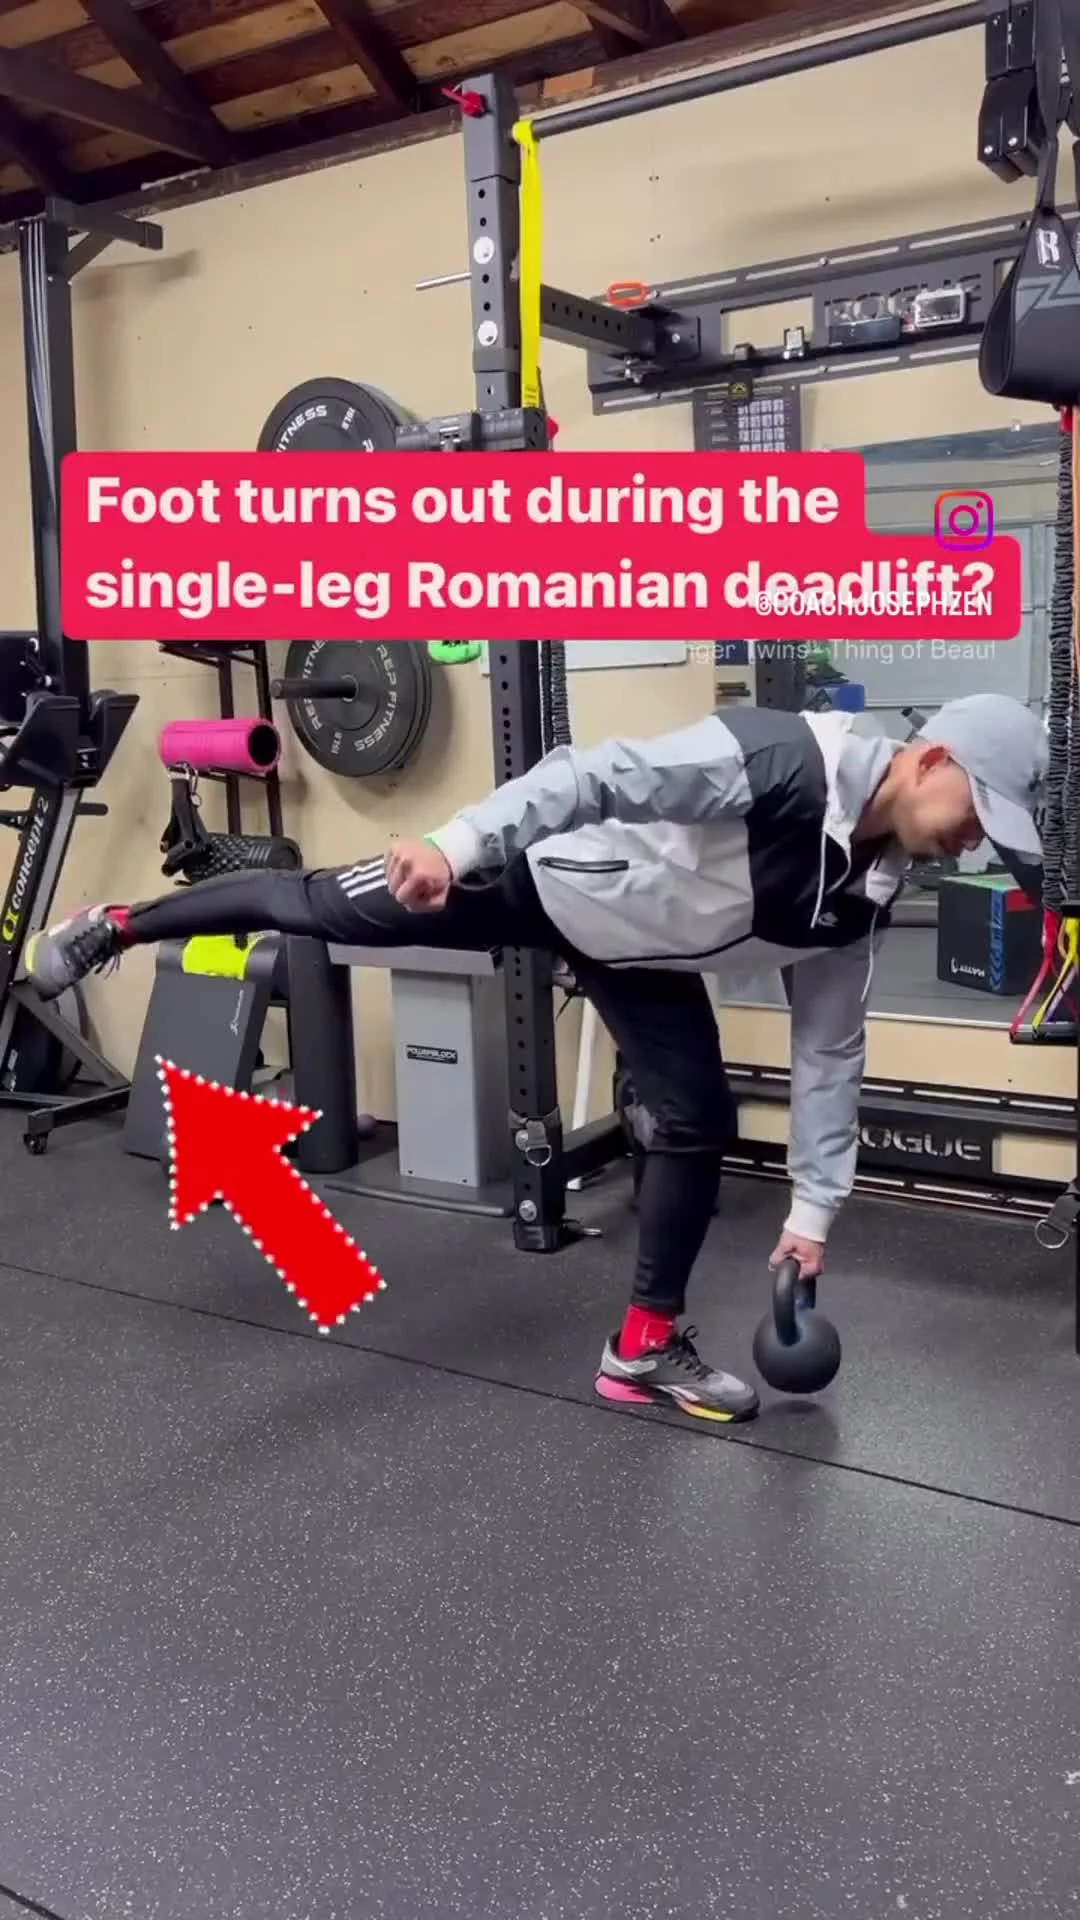
The Single-Leg RDL: A Posterior Chain Powerhouse
The single-leg RDL specifically targets your glutes, hamstrings, and core while also challenging your balance and hip control. It’s one of the best ways to train your posterior chain and build that strong, stable base most people are missing.
However, it’s not easy at first. One of the most common mistakes is rotating the pelvis outward, which usually shows up as the back foot and toes turning out. When that happens, you lose the tension in your glutes and hamstrings, which limits your results.
Quick Fix: Use a Foam Roller for Feedback
A simple and effective way to correct this? Use a foam roller as a guide. Hold it lightly behind you (between your arm and your lifted leg). As you move through the RDL, the foam roller helps cue your hip to stay in line and your leg to move straight back, keeping your form tight and your muscles firing properly.
How to Mix Unilateral Work Into Your Training
Start small. You don’t need to overhaul your entire program. Try replacing one or two bilateral exercises (like regular RDLs or squats) with unilateral versions once or twice a week. Here are a few ideas:
Swap barbell RDLs for dumbbell single-leg RDLs
Add split squats or step-ups into your lower body day
Finish your workout with a single-arm or single-leg core exercise
Over time, you’ll notice better balance, stronger lifts, and fewer nagging aches.
-
12/27/22
If You Sit Too Much… Here’s What You Should Know About Your Low Back
If you spend most of your day sitting - working at a desk, driving, or lounging - your spine is likely hanging out in a lumbar flexed position for hours on end. This means your lower back is slightly rounded forward, and your spinal tissues are under low-level, constant tension.
That position isn’t "bad" in itself. Your body is built to bend, flex, and round. The problem? It’s always in that position.
Over time, the lack of variety in movement leads to:
Stiffness and achiness in the lower back
Reduced spinal mobility
Decreased tolerance to other positions (like extension or rotation)
A general feeling of tightness, even when you're “doing nothing”
The Solution Isn’t Just Stretching - It’s Moving Differently
Instead of focusing solely on loosening up your back or stretching the "tight" spots, perform movements aim to reverse the repeated flexion by reintroducing extension, rotation, and gentle spinal control. Think of it like giving your spine a new direction to explore - the opposite of what it’s been doing all day.
These movements aren’t meant to be aggressive. In fact, if they feel too intense, scale them back. Go slower, reduce the range of motion, or do fewer reps. The goal is to introduce movement in a tolerable, consistent way so your back learns to feel safe again in other positions.
Move More, Sit Smarter
It’s not about avoiding sitting - it’s about breaking up the sameness. Give your back some variety. A few intentional minutes of mobility work each day can go a long way in building a more resilient, pain-free spine.